A camera can turn confident people into awkward statues in seconds.
You know the feeling. Your photographer says, “Just pose naturally,” and suddenly you have no idea where your hands should go. Your shoulders feel stiff. Your smile looks forced. Even standing normally starts to feel strangely complicated.
The good news? You don’t need modeling experience to look natural in photos.
The secret lies in making small, intentional changes to your body position. Shift your weight. Turn your shoulders. Relax your hands. Change your gaze. Add a little movement. Those simple adjustments can completely change the way a portrait looks.
This guide covers 30+ photography posing ideas you can use for portraits, fashion shoots, couples, lifestyle sessions, professional photos, and casual pictures. More importantly, you’ll learn why each pose works and how to adapt it instead of copying it mechanically.
What Makes a Photography Pose Look Natural?
A strong pose isn’t necessarily complicated. In fact, the simplest poses often produce the most believable photographs.
Think of your body as a collection of lines and angles. Your feet establish the foundation. Your legs create direction. Your hips and shoulders add shape. Finally, your hands, head, and eyes complete the composition.
When everything points in exactly the same direction, the photograph can feel rigid. Small changes create visual variety.
Shift Your Weight
One of the easiest ways to escape a stiff standing pose is to move your weight onto one leg.
Instead of standing with both feet planted equally, let one leg carry most of your weight. Allow the other knee to relax slightly.
This changes the body’s balance and creates a more natural stance.
Try moving the weight from one leg to the other while taking several frames. You’ll often discover that the best photograph appears somewhere between two deliberate poses.
Turn Your Body Slightly
Facing the camera completely straight can create a flat appearance.
Try turning your torso slightly while keeping your face toward the camera. You can experiment with a small turn first and then gradually increase it.
The goal isn’t to force your body into an exact angle. You’re looking for a position that creates depth while still feeling comfortable.
Give Your Hands Something to Do
Hands cause problems for almost everyone.
If you leave them hanging without direction, they can look disconnected from the rest of the body. If you force them into an elaborate position, they may look even more unnatural.
Instead, give your hands a simple job:
- Hold a jacket.
- Place one hand in a pocket.
- Touch your hair.
- Rest a hand on your thigh.
- Hold a coffee cup.
- Adjust a sleeve.
- Touch a nearby wall.
- Rest one hand lightly on the other.
The action should make sense within the scene.
Create Space Between Your Arms and Body
When an arm sits tightly against the torso, the two shapes can visually merge.
A small gap separates those forms and creates a cleaner outline.
You don’t need to exaggerate the separation. Even a slight adjustment can make the pose look more dimensional.
Relax Your Shoulders
Shoulder tension can ruin an otherwise good pose.
When people feel nervous, they often lift their shoulders without realizing it. Ask yourself to take a slow breath and let them drop.
This tiny change can soften the entire upper body.
Use Your Eyes as Part of the Pose
Your eyes don’t always need to face the camera.
Try looking:
- Directly into the lens.
- Slightly beside the camera.
- Toward a person nearby.
- Down toward the ground.
- Into the distance.
- Back over your shoulder.
Each direction creates a different emotional tone.
A direct gaze usually feels more engaging. Looking away can make the photograph feel quieter and more observational.
30+ Photography Posing Ideas to Try
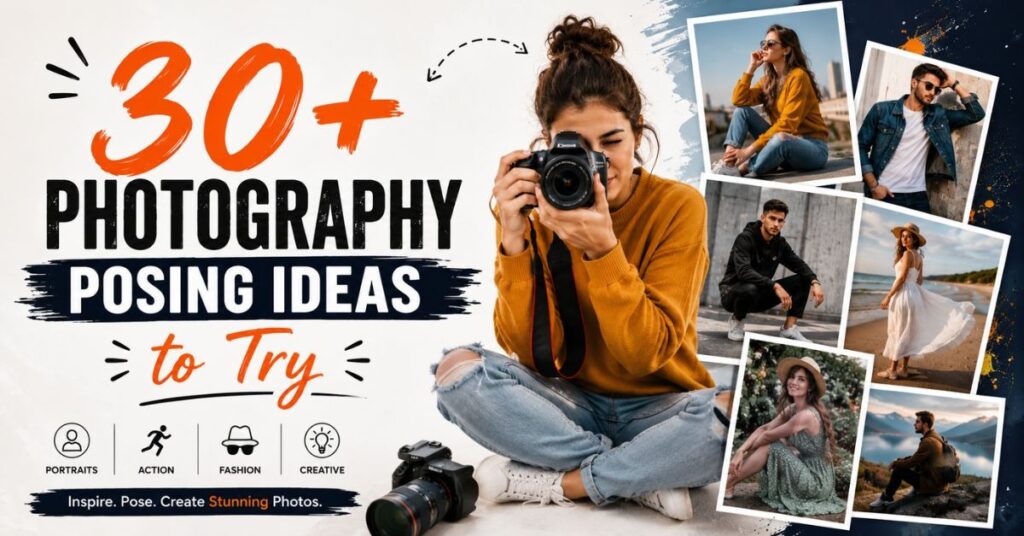
The following photography poses give you practical starting points. Don’t treat them as strict instructions. Adjust each one according to the person’s comfort, clothing, location, and personality.
The Three-Quarter Turn
Turn your body slightly away from the camera while bringing your face back toward the lens.
This creates more depth than a completely front-facing stance.
For an even more relaxed result, shift your weight onto the leg farther from the camera.
The Relaxed Weight Shift
Stand normally, then move most of your weight onto one leg.
Let the other leg relax naturally.
Keep your arms loose and shoulders down.
This pose works particularly well when someone feels uncomfortable with more complicated directions.
One Hand in a Pocket
Place one hand inside a pants or jacket pocket while leaving the other hand relaxed.
You can also leave your thumb outside the pocket for a slightly more casual look.
This is one of the easiest solutions when someone doesn’t know what to do with their hands.
Both Hands in Pockets
For a casual portrait, place both hands loosely inside the pockets.
Avoid pushing your hands deeply into the pockets because that can make the shoulders and arms look tense.
Keep your posture relaxed and slightly angle the body.
Hand on the Hip
Place one hand on the hip while allowing the elbow to move slightly away from the torso.
This creates a clear shape between the arm and body.
For a softer photograph, keep the fingers relaxed instead of gripping the hip.
Adjusting a Sleeve
Pretend to adjust a cuff, sleeve, watch, or bracelet.
This gives the hands a believable action while creating a subtle editorial feel.
It’s particularly useful for professional outfits and fashion photography.
Holding a Jacket
Drape a jacket over one shoulder or hold it loosely in one hand.
The clothing becomes part of the composition instead of simply sitting on the subject.
You can create several variations by changing the hand, shoulder, or direction of the gaze.
The Over-the-Shoulder Pose
Turn your body away from the camera and look back.
This creates a strong diagonal through the frame.
It works especially well with outdoor locations because the direction of the gaze can lead toward an interesting part of the background.
The Wall Lean
Find a wall, pillar, or doorway and lean against it.
You can use your shoulder, back, or hip as the main contact point.
The wall gives the subject physical support, which often makes the pose feel easier.
One Shoulder Against the Wall
Turn sideways and place one shoulder against the wall.
Keep your body slightly angled toward the camera.
This creates an asymmetrical composition without requiring complicated body movement.
The Casual Walk
Ask the subject to walk slowly toward the camera.
Don’t expect the first step to produce the perfect frame. Photograph several steps instead.
Each frame will show a slightly different combination of leg position, arm movement, and expression.
Walk Past the Camera
Instead of walking toward the camera, have the subject move across the frame.
This introduces horizontal movement and works particularly well in streets, parks, hallways, and architectural locations.
Walk and Look Back
Have the subject walk away from the camera and then glance back.
This combines movement with the over-the-shoulder pose.
It can feel especially natural when the person continues walking rather than stopping completely.
Seated Three-Quarter Pose
Sit at an angle rather than facing the camera directly.
Place the hands naturally on the thighs, chair, or clothing.
Keep the upper body relaxed while allowing the lower body to create a stable base.
Sit on the Edge of a Chair
Instead of sinking into the backrest, sit closer to the front edge.
Keep your feet positioned intentionally and lean forward slightly.
This often produces a more alert and engaging portrait.
Elbow on the Knee
Sit down and place one elbow lightly on a knee.
Let the other hand rest naturally.
This creates a strong visual relationship between the arm and leg while giving the subject a clear position.
Cross-Legged Sitting Pose
Cross your legs comfortably while keeping your upper body slightly turned.
Change the position of the hands and eyes to create different versions without moving the entire setup.
Sideways Chair Pose
Turn the chair sideways and sit across it.
You can rest an arm on the chair back or keep both hands loosely positioned.
This works particularly well in studio, office, and indoor lifestyle photography.
Floor Sitting Pose
Sit on the floor with your knees bent, legs crossed, or one leg extended.
Change your torso angle to create different compositions.
Floor poses can feel relaxed and editorial when the surrounding environment supports the mood.
Lean Back
Use a wall, chair, sofa, or another stable surface for support.
Lean backward slightly without collapsing your posture.
This creates a laid-back appearance while maintaining a deliberate silhouette.
Close-Up Photography Posing Ideas
Close-up portraits require more attention to the face because much of the body disappears from the frame.
Small movements suddenly matter more.
Hand Near the Cheek
Bring one hand near the cheek without pressing it heavily against the face.
Keep the fingers loose.
This creates a natural frame around the face and gives the hands a clear purpose.
Touch the Hair
Ask the subject to move a hand through their hair or adjust a small section.
Rather than freezing the movement, photograph several frames while the hand moves.
Those transition frames often feel more authentic.
Rest the Chin on Your Hand
Place the hand beneath the chin with a light touch.
Avoid pushing the face heavily into the palm.
A relaxed wrist and slightly curved fingers will keep the gesture from looking stiff.
Look Away From the Camera
Ask the subject to look toward something outside the frame.
This creates a more reflective mood and can make the photograph feel less staged.
Pay attention to the empty space in the direction of the gaze.
Direct Eye Contact
Have the subject look directly into the lens.
Keep the body relaxed and let the expression carry the image.
This works particularly well for professional headshots, personal branding, and confident portraits.
Slight Head Tilt
Tilt the head just a little.
A small change can break up symmetry and create a softer expression.
Avoid dramatic tilts unless you’re intentionally creating a stylized photograph.
Eyes Down
Lower the gaze toward the floor or hands.
This can create a calm, quiet mood.
Pair the lowered gaze with relaxed shoulders and natural hand placement.
Dynamic Photography Posing Ideas
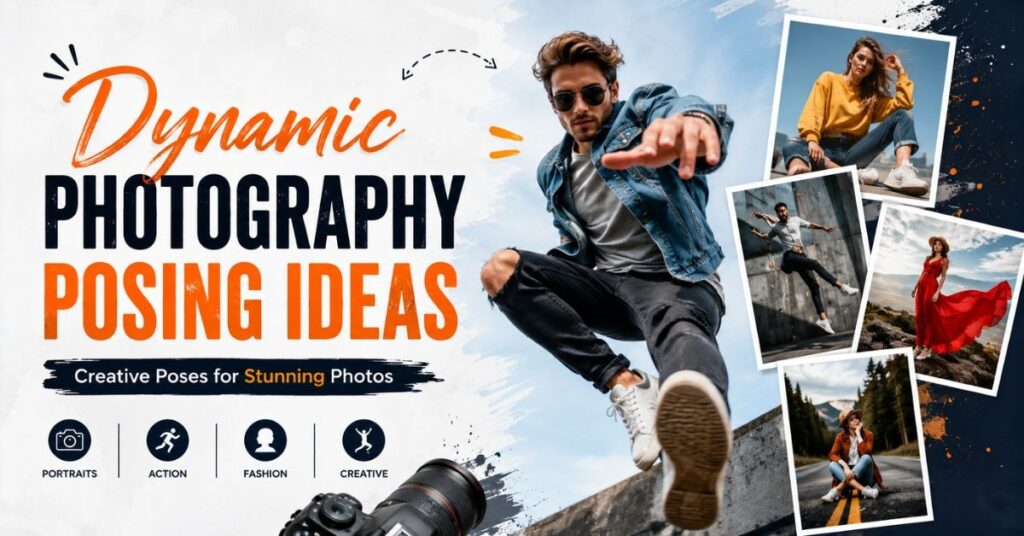
Movement can solve a major posing problem: self-consciousness.
When people have something to do, they often stop worrying about how they look.
Hair Movement
Ask the subject to move or adjust their hair.
Capture several frames during the motion.
The movement adds energy while creating natural changes in the face and body.
Mid-Turn
Ask the subject to turn toward the camera.
Start shooting before they reach the final position.
The transition can produce photographs with more personality than a completely frozen pose.
Twirling or Spinning
This works particularly well with flowing dresses, skirts, scarves, and coats.
The movement creates shapes that wouldn’t exist in a static portrait.
Use the surrounding space to give the fabric enough room to move.
Adjusting Clothing
Ask the subject to straighten a jacket, pull down a sleeve, fix a collar, or adjust a scarf.
These small actions make excellent transitional poses.
Using a Prop
A useful prop can solve both posing and storytelling problems.
Try:
- Coffee cups
- Books
- Sunglasses
- Flowers
- Hats
- Cameras
- Bags
- Musical instruments
Choose something that belongs naturally in the environment.
Touching the Environment
Use nearby objects as part of the pose.
The subject might touch a railing, rest against a doorway, hold a tree branch, or place a hand on a bench.
This creates a physical connection between the person and the location.
Natural Laugh
Don’t simply ask for a fake laugh.
Create a reason to smile or react.
Ask the subject a light question, encourage them to talk, or have them interact with someone nearby.
Then photograph the reaction.
Looking Through a Frame
Use doorways, arches, windows, foliage, or other objects to partially frame the subject.
This adds foreground depth and can make an ordinary portrait feel more layered.
Photography Posing Ideas for Couples
Couple photography becomes stronger when the people interact instead of standing beside each other.
Walk Together
Ask the couple to walk side by side.
Tell them to talk while they move.
This creates changing expressions and natural hand positions.
Face Each Other
Have the couple stand close together and look at each other.
Don’t force an intense expression. A simple conversation can create a more believable moment.
One Person Behind the Other
Place one partner slightly behind the other.
This creates depth and prevents the two bodies from forming one flat horizontal line.
Forehead-to-Forehead
Bring the couple’s foreheads gently together.
Keep the contact relaxed.
This pose works well for intimate portraits because it creates closeness without requiring exaggerated gestures.
Hold Hands While Walking
Have the couple walk naturally while holding hands.
Photograph several steps rather than stopping them after one frame.
One Person Looks at the Camera
Ask one partner to look into the lens while the other looks at them.
The contrast creates a simple visual story.
Walking Away Together
Have the couple walk away from the camera.
After several steps, ask one or both people to look back.
This works particularly well when the location itself contributes to the photograph.
How to Choose the Right Pose for Different Photoshoots
The same pose won’t work equally well in every situation.
A professional headshot needs different body language from a beach portrait or fashion campaign.
| Photoshoot Type | Useful Posing Approach | Main Goal |
| Headshot | Slight body turn and direct gaze | Connection |
| Business portrait | Controlled posture and subtle lean | Confidence |
| Fashion | Strong angles and clothing movement | Style |
| Street portrait | Walking and environmental interaction | Authenticity |
| Couple session | Touch, walking, and interaction | Connection |
| Lifestyle | Props and everyday actions | Natural storytelling |
| Outdoor portrait | Movement and environmental poses | Sense of place |
| Studio portrait | Clean angles and controlled gestures | Visual clarity |
Match the Pose to the Mood
Start by deciding what the photograph should communicate.
Confidence often benefits from upright posture and direct eye contact.
Relaxation works better with leaning, walking, or casual hand placement.
Romance relies more on closeness, eye contact, and gentle interaction.
Playfulness benefits from movement and genuine reactions.
Professionalism usually calls for controlled posture without excessive stiffness.
Editorial style can support stronger angles and unusual body lines.
Match the Pose to the Location
The environment should influence your posing decisions.
A staircase gives you different options from a plain studio wall. A café provides natural props. A beach creates space for movement. A narrow hallway can emphasize perspective.
Look around before deciding what the subject should do.
Often, the location already contains the best posing tools.
Match the Pose to the Outfit
Clothing changes how movement appears.
Flowing garments can look excellent during walking or turning. Structured jackets often benefit from cleaner poses. Casual clothes work naturally with sitting, leaning, and movement.
The pose should support the outfit rather than fight against it.
How to Direct Someone Who Doesn’t Know How to Pose
Not everyone standing in front of your camera will know what to do.
That’s completely normal.
A photographer can make the session much easier by giving clear instructions instead of expecting the subject to invent poses.
Give One Direction at a Time
Don’t overload the person with instructions.
Instead of saying:
“Turn your shoulders, move your hand, tilt your head, shift your weight, and smile.”
Break it down.
First adjust the body. Then fix the hands. Then direct the eyes.
This makes the process much easier.
Demonstrate the Movement
If a verbal explanation isn’t working, demonstrate it.
Show the subject what you mean with your own body.
A quick demonstration can eliminate confusion immediately.
Use Action-Based Prompts
Instead of saying “look natural,” try:
- “Walk slowly toward me.”
- “Turn your shoulders slightly.”
- “Put your left hand in your pocket.”
- “Look over your shoulder.”
- “Adjust your sleeve.”
- “Look toward the window.”
- “Take a breath and relax.”
Specific instructions produce specific results.
Keep the Subject Moving
Don’t make someone hold an uncomfortable pose for too long.
Let them move between positions while you photograph the transitions.
The moment immediately before or after a pose can sometimes become the strongest image.
Common Photography Posing Mistakes
Even a great pose can fail because of small details.
Standing Too Rigidly
Straight posture doesn’t mean stiff posture.
Keep the spine supported while allowing the knees, shoulders, and hands to relax.
Locking the Knees
Locked knees make the body look tense.
Shift your weight and allow one leg to relax.
Pressing the Arms Against the Body
This can eliminate the natural separation between the arm and torso.
Create a little space whenever the composition benefits from it.
Clenching the Hands
Tight fingers immediately reveal tension.
Relax the hands and give them a clear purpose.
Overdoing the Head Angle
A subtle head movement can improve a portrait.
A dramatic tilt can quickly become distracting.
Forcing a Smile
A genuine expression usually looks better than a rehearsed grin.
Give the subject something to react to instead.
Copying a Pose Exactly
Every person has different proportions, flexibility, clothing, and comfort levels.
A pose should be adapted.
Think of a reference pose as a blueprint, not a prison.
How to Turn One Pose Into Five Different Photos
You don’t need 30 completely different setups during every session.
Start with one strong pose and modify one element at a time.
| Version | Change |
| First | Direct eye contact |
| Second | Look away |
| Third | Change hand position |
| Fourth | Turn the shoulders |
| Fifth | Add movement |
Imagine starting with a simple three-quarter standing pose.
Take the first photograph with direct eye contact. Then ask the subject to look toward the side. Next, place one hand into a pocket. After that, turn the shoulders slightly. Finally, ask the person to walk forward.
You now have five distinct images from one basic setup.
This technique saves time and creates visual consistency across a portrait series.
Quick Photography Posing Checklist
Before taking the photograph, check these details:
- Shift the subject’s weight.
- Relax the shoulders.
- Angle the body when appropriate.
- Keep the hands purposeful.
- Relax the fingers.
- Create useful arm-to-body separation.
- Check the chin.
- Watch the eye direction.
- Look for awkward overlaps.
- Use the environment.
- Add movement when necessary.
- Capture several variations.
A five-second pose check can prevent an otherwise excellent photograph from feeling awkward.
Frequently Asked Questions About Photography Posing Ideas
What are the best poses for photography?
There isn’t one universal best pose.
Three-quarter turns, weight shifts, natural hand placement, walking, leaning, and environmental interaction are reliable starting points for many portrait sessions.
How do you pose naturally for pictures?
Give yourself an action instead of freezing in place.
Walk, adjust your clothes, touch your hair, hold a prop, or interact with another person. Movement makes it easier to avoid the stiff appearance that often comes from holding a pose.
What should I do with my hands in photos?
Give them a simple purpose.
Use pockets, clothing, props, your hair, your face, a chair, or another nearby object. Keep your fingers relaxed and avoid forcing complicated gestures.
How can I look less awkward in photos?
Start with your body rather than your facial expression.
Shift your weight, turn slightly, relax your shoulders, and give your hands something to do. Once the body feels comfortable, the expression usually becomes easier.
How do photographers pose people who aren’t models?
They provide short, specific directions.
Instead of asking someone to “pose naturally,” tell them exactly what action to perform. Demonstrating the movement can also make instructions much easier to understand.
What pose makes you look confident?
A relaxed upright posture combined with a slight body angle and intentional eye contact can create a confident appearance.
The key is avoiding stiffness. Confidence should look controlled, not forced.
How many poses should you use during a photoshoot?
You don’t need a huge collection of unrelated poses.
Start with several dependable positions and create variations by changing the hands, gaze, body angle, camera position, and movement.
Final Thoughts
The best photography posing ideas aren’t about memorizing hundreds of positions.
They’re about understanding how the smallest changes affect the final frame.
Shift the weight. Turn the body. Relax the hands. Change the gaze. Add movement.
Then look at the photograph and make one adjustment at a time.
Once you understand those fundamentals, a single pose can produce several different images. That’s what makes posing useful. You’re not simply copying positions. You’re learning how to build natural body language for the camera.
Whether you’re photographing a professional headshot, a couple, a fashion session, or a casual outdoor portrait, start simple.
Give the subject something natural to do.
The camera will capture the rest.